1Panel Install AnqiCMS Tutorial

Calendar 570

Installation of 1Panel

Download address for 1Panel installation:https://1panel.cn/

Please follow the installation instructions on the 1Panel official website. It is assumed that you have already installed 1Panel.

Required additional software: OpenResty, MySQL, please install them in the 1Panel app store.

Install AnQi CMS application using Docker

Click the container in the left menu, select the Container tab, and click the Create Container button.

Fill in the name in the popped-up interface, fill in anqicms;
Manually select the mirror and enter anqicms/anqicms:latest in the input box;
Port selection to expose port, both the server and container should be filled with 8001. If you need to install multiple containers, then the server port should be filled with different ports, such as 8002, 8003, etc., but the container port should still be filled with 8001.


Continue scrolling down to the restart rule section, you can choose to restart after failure or if not manually stopped.


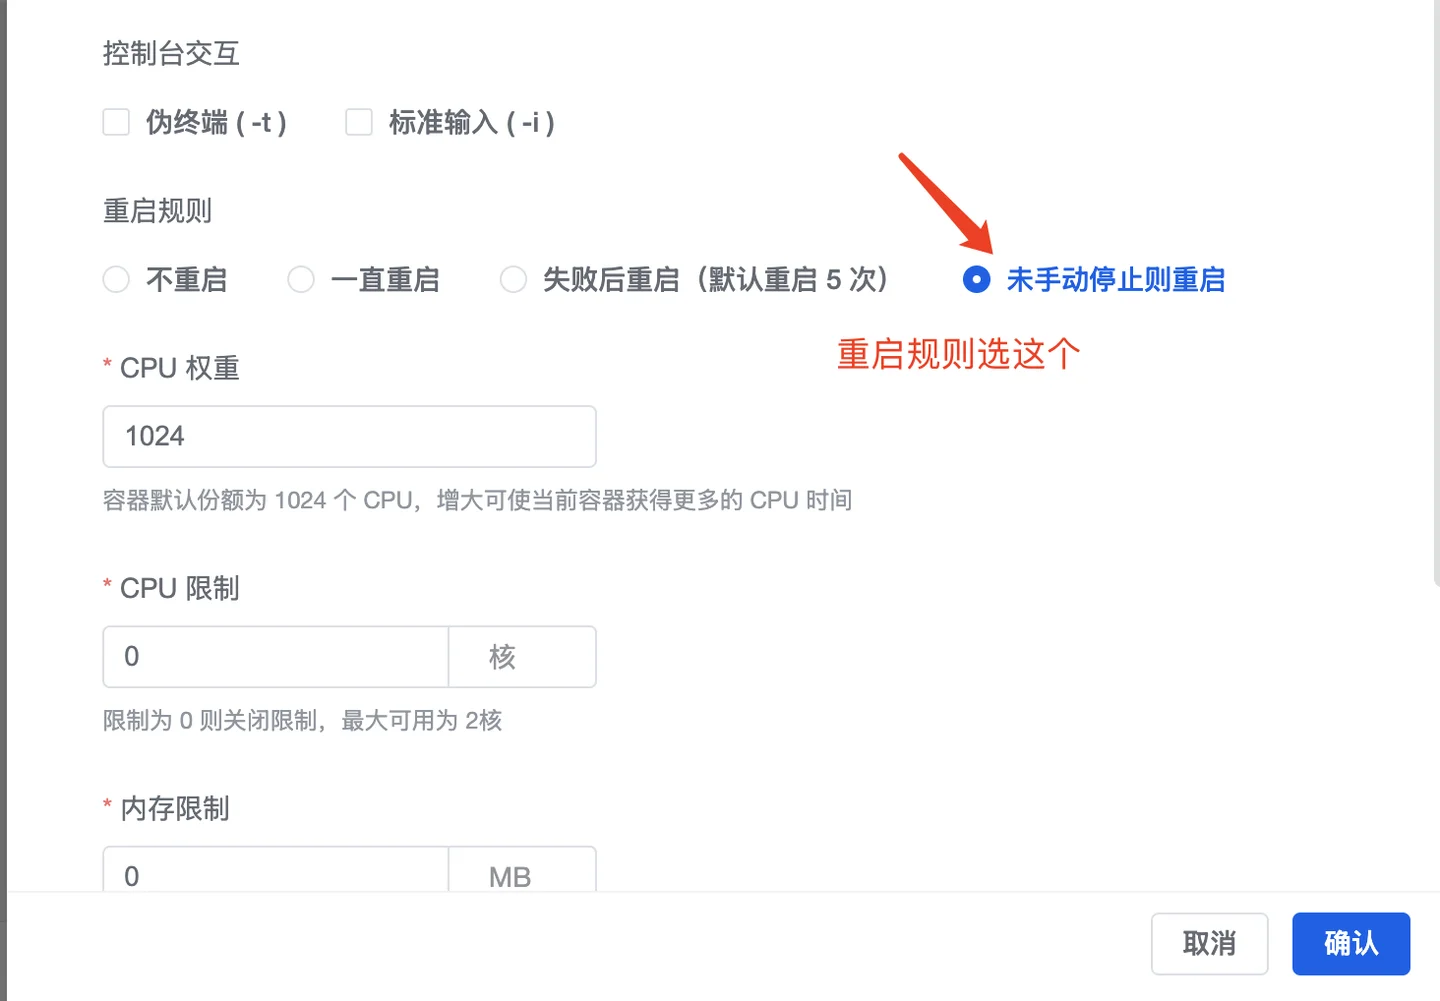
Finally, click confirm to complete the container creation.

Set up reverse proxy site

After the container is created, click on the website in the left menu, select the website, and click the create website button.


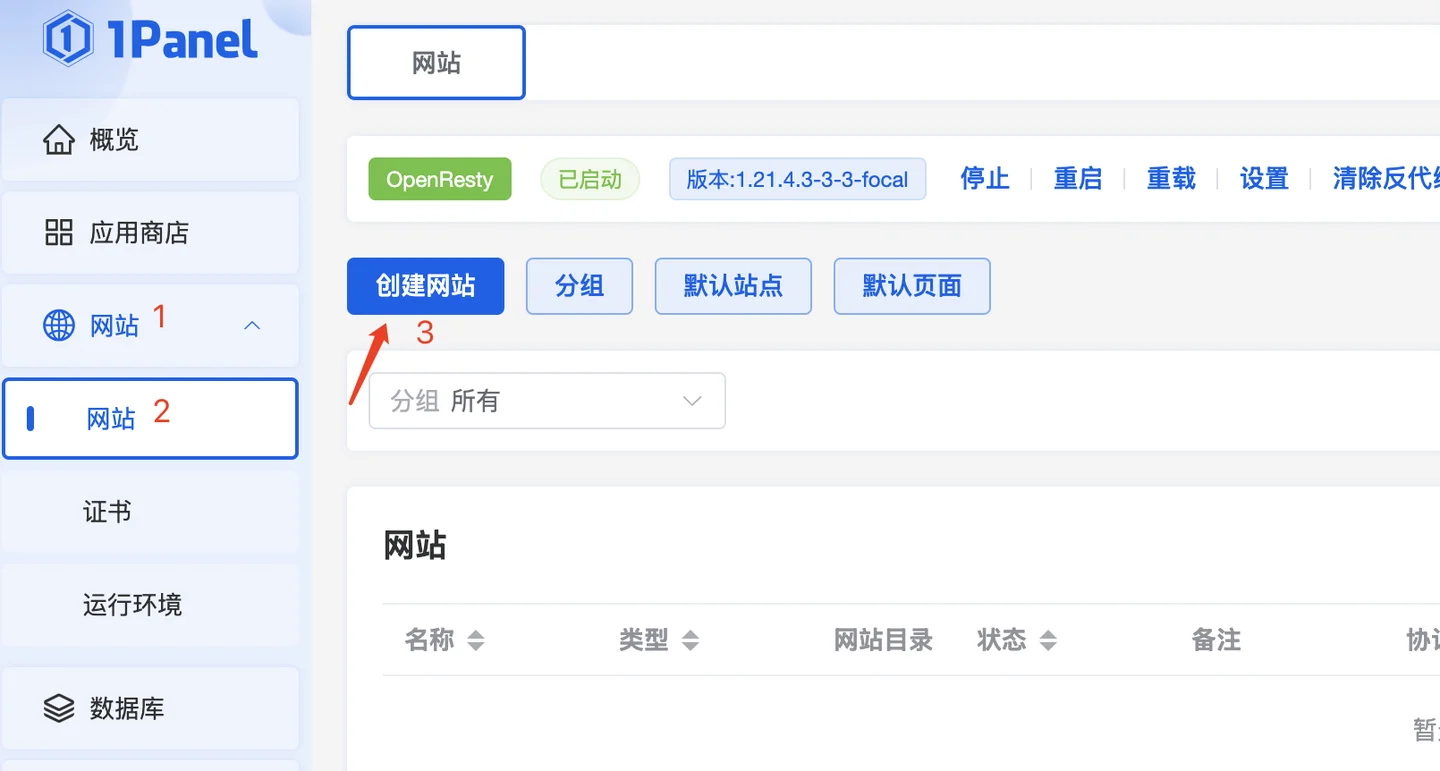
In the pop-up interface, select [Reverse Proxy]
The primary domain should be filled with your domain name, for example: test.anqicms.com
Proxy address fill in 127.0.0.1:8001.If you install multiple AnQiCMS containers and set different ports, then here you need to fill in different ports according to the actual situation.

Finally, click confirm to complete the creation of the site.


Start using the website

Enter the domain you have set above in the browser, such as:http://test.anqicms.com/to perform the initial installation of the website.

After installation, it can be used normally.

Back-end access address: your domain/system/

If your website ishttp://test.anqicms.com/Then the background access path is:http://test.anqicms.com/system/

Related articles

Deployment with aaPanel

Installing aaPanel This Docker-based tutorial for installing AnQiCMS is demonstrated using aaPanel (BT International Version).If aaPanel is not installed on your server, follow the steps below to install it.

2024-11-21

Security CMS multi-site installation tutorial

The previous tutorial showed how to install AnQi CMS using Baota's Docker.Read the address: https://en.anqicms.com/help/3628.html Below is an introduction to the Baota reverse proxy site feature and a tutorial on adding multiple Anqicms sites.Add Reverse Proxy Site in Baota Panel In the left menu of Baota Panel, select [ Websites ], on the website page, select [ Reverse Proxy ], and click [ Add Reverse Proxy ] to create a reverse proxy site.On the interface for adding reverse proxy sites, fill in the domain column with the new site's domain name

2024-11-15

TT panel Docker one-click deployment security CMS tutorial

Install Anqicms application using Docker After installation, search for anqicms in the app store Click the Install button in the search results, enter the installation interface In the installation configuration, enter port 8001 and click Confirm to install.Click OK and the installation will not be completed immediately. Please be patient and wait for 1-5 minutes until the installation is complete.After Docker installation and configuration is complete as shown in the figure below: Use reverse proxy to create a site Switch to the site on the Baota panel, and click the reverse proxy tab to prepare to add a reverse proxy site.Click to add proxy

2024-11-14

AnQICMS Installation Tutorial

AnQICMS installation tutorial supports the following operating systems: Windows 7, Windows 8, Windows 10, Windows 11, and various versions of Windows server.Windows XP is not tested for support on Ubuntu, Centos, Red Hat, Debian, and other X86-based Linux versions.

2022-05-31

AnQiCMS - Thank You for Your Support

AnQiCMS is an open source content management system. Every donation you make is a source of motivation for us to continue iterating and serving users.

2026-04-16